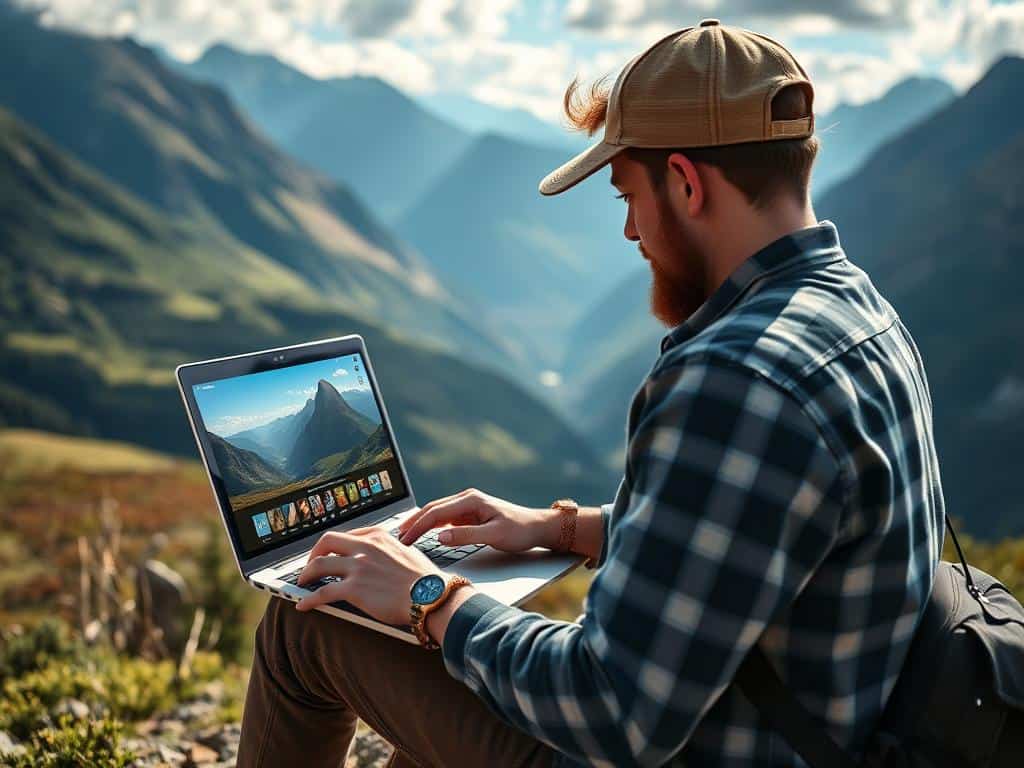
Did you know that about 90% of professional photographers shoot in RAW format? This is because it offers more flexibility in editing. Just like old-school photographers used darkrooms, today’s digital artists use Adobe Lightroom and Photoshop. These tools help turn ordinary photos into stunning works of art.
Pro landscape editing can make a simple photo into a breathtaking scene. With a few tweaks, like adjusting exposure and color, your photos can look amazing. I’ve learned that finding your editing style can make your work stand out. It also helps you connect more with your audience.
Now, let’s get into some photo enhancement tips. We’ll cover cropping, color adjustments, and dodge and burn. These techniques will boost your editing skills and take your photography to new heights.
Key Takeaways
- RAW format retains up to 14 bits of color information for superior editing capabilities.
- Advanced software tools can enhance workflow efficiency and creativity.
- Techniques like dodging and burning improve specific areas of a photo.
- Understanding the importance of exposure blending can greatly improve dynamic range.
- A significant percentage of photographers engage in selective editing for enhanced visual appeal.
- Creating a signature style in editing helps establish a unique brand identity.
Introduction to Landscape Photo Editing
Landscape photo editing is a mix of technical skill and artistic vision. As I explore this field, I see how post-processing changes raw images into stunning photos. With the right tools, I can improve exposure, color, and detail, making my landscapes stand out.
Understanding the Importance of Post-Processing
Every photo I take, even with a smartphone, needs editing. Post-processing is key, as it lets me fix mistakes and try new things. Using Lightroom and Photoshop, my photos become more lively and interesting. Working with RAW files gives me more to play with, helping me create images that connect with people.
Choosing the Right Software for Editing
Finding the right software for editing landscapes is important for me. Lightroom is great for its editing tools and easy-to-use design. It fixes lens issues like distortion and color problems. Photoshop adds more detailed adjustments and precision. Capture One is another option for better color grading and tethering. Each software helps me in different ways, making my landscape photos amazing.
Editing Landscape Photos Like a Pro
When I started with landscape photography, I learned that editing can change everything. Knowing how to edit can make a scene look even more beautiful. It’s important to understand each tool well to get top-notch results.
Utilizing the Cropping Tool Effectively
The cropping tool is key in my editing tools. It lets me change the frame to improve the photo’s look. I use the rule of thirds to keep the subject balanced.
Even after cropping, tools like Topaz GigaPixel can make images bigger. This keeps the details sharp for sharing online.
Maximizing Exposure with Sliders and Bracketing
Exposure sliders are great for adjusting light and dark areas. I use bracketing to take photos at different exposures. This way, I can make an HDR image that shows the full range of my camera’s dynamic range.
Enhancing Colors through Saturation and Hue
Color is key in making landscapes pop. I adjust saturation and hue carefully. This makes sure the bright areas stand out without being too much.
Changing colors during RAW conversion can also make a big difference. It can brighten and deepen the colors in the image.
Employing Dodging and Burning Techniques
Dodging and burning let me brighten or darken parts of the image. This adds depth and makes the photo more interesting. It’s a way to highlight important parts without over-editing.
Focus Stacking for Sharp Images
Focus stacking has changed my photography. It blends images for a deeper field of view. This makes the image sharp from front to back, perfect for showing off details in wide scenes.
Tools like Helicon Focus make this process easy and precise. It helps me get the best results quickly.
Removing Distractions in Your Images
Removing distractions is important for a good image. I use Photoshop’s tools to get rid of unwanted parts. This makes the image clearer and lets the landscape’s beauty shine.
Creating Dreamy Effects with Light Bleed
Light bleed effects, like the Orton effect, add a magical touch to my photos. These subtle changes can make the image feel more enchanting. Used carefully, they can make landscapes feel welcoming.
Working Non-Destructively for Future Edits
Non-destructive editing is key in my workflow. Using layers in Photoshop lets me make changes without losing the original. This way, I can keep refining my edits without worrying about losing details.
Adding Midtone Magic to Your Edits
Midtones are important for contrast and depth. I use luminosity masks to enhance contrast without losing details. Finding the right balance in midtones makes the image dynamic and cohesive.
Keeping Edits Natural and Subtle
Editing should be subtle. I aim to enhance the image without overpowering it. This keeps the photo feeling real while showing its beauty.
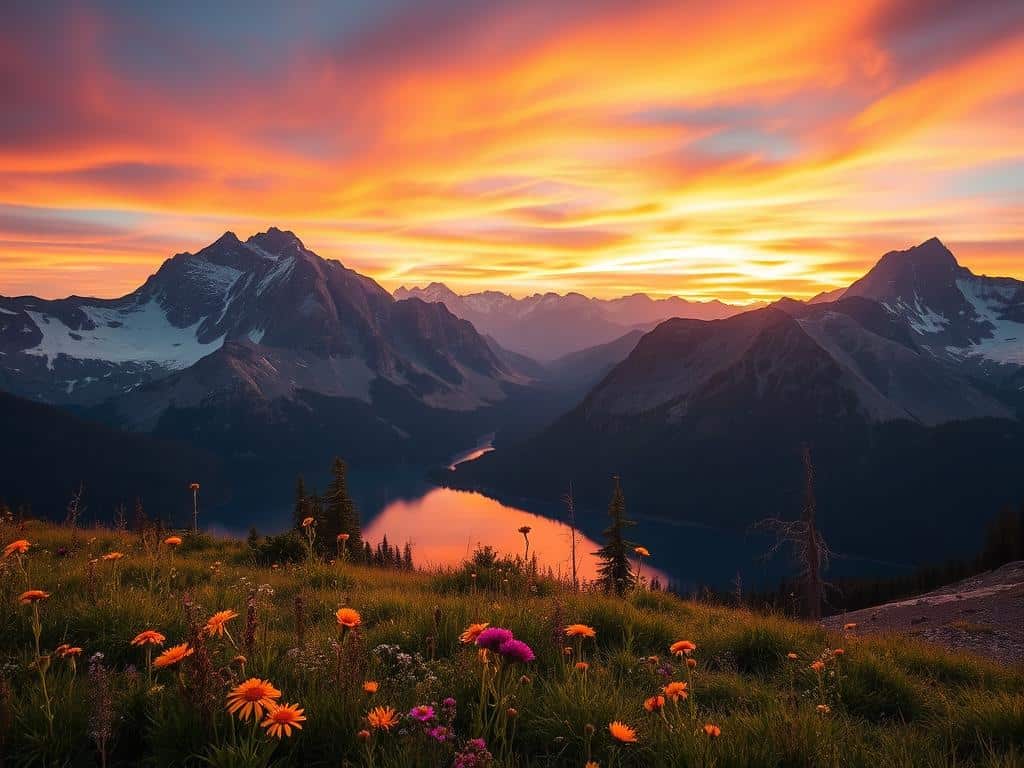
Conclusion
Learning to edit landscape photos is key to making them stand out. In this article, we’ve covered important tips for improving your landscape images. Using tools like Adobe Lightroom and Photoshop can make a big difference.
These tools let you make detailed changes and use special effects. This brings out the best in your photos. Techniques like the “Painting with Warmth” method and the Orton Effect add creativity to your edits.
Tools like Nik Color Efex help you focus on specific parts of your photo. Making small changes in exposure and color can change a photo’s mood. By using these methods, you’re not just editing; you’re creating a memorable experience for your viewers.
Great landscape photos are made in the camera and in editing. By mastering both technical and artistic editing, you can develop your own style. I suggest you keep practicing to get better. Becoming a skilled photographer is a rewarding journey.
