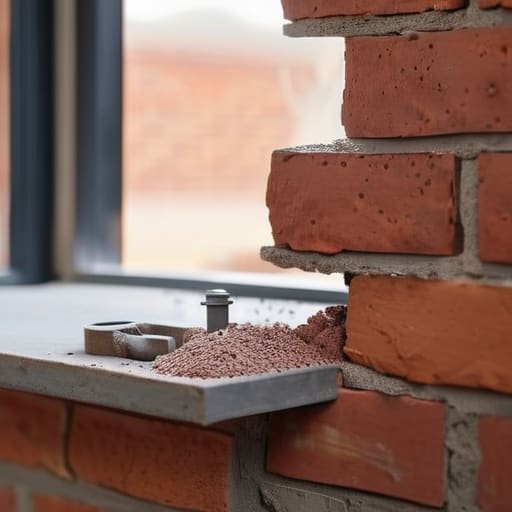
The dust was still settling in my tiny studio apartment, coating my favorite jazz records in a fine, gritty layer of red clay, when I realized I’d made a classic mistake. I was staring at a pile of shattered masonry and a shelf that sat as crooked as a bebop solo gone wrong, wondering if I’d ever truly master the art of how to fit a shelf on a brick wall. Most people will tell you it’s a battle of brute strength against stubborn stone, but they’re missing the melody. It isn’t about fighting the wall; it’s about finding the rhythm between your drill and the grain of the brick.
I’m not here to give you a dry, clinical manual that reads like a hardware store receipt. Instead, I’m going to guide you through the soulful cadence of the process, from selecting the right masonry bit to the precise, steady hand needed for those anchors. We’re going to strip away the intimidation and replace it with a steady, creative flow. By the time we’re done, you won’t just have a shelf hanging securely; you’ll have mastered the tempo of your own home improvement journey.
Guide Overview
Tools & Supplies
- Hammer Drill with masonry bit to drill into brick
- Spirit Level to ensure the shelf is straight
- Screwdriver or Power Drill to drive screws
- Pencil to mark drilling points
- Shelf and brackets 1 set
- Wall plugs (Rawlplugs) 1 pack
- Screws 1 pack
Step-by-Step Instructions
- 1. First, we need to find our rhythm. Grab a pencil and a level, and mark exactly where you want your shelf to live. Don’t just wing it; you want those lines to be as steady and intentional as a drummer holding down a tempo. If your marks are crooked, the whole song feels off.
- 2. Now, it’s time to introduce the drill to the brick. Select a masonry bit—think of it as your specialized instrument—and press it against your mark. Start slow, let the bit find its groove, and then apply a firm, consistent pressure as you work your way into the wall. It’s a dance of friction and force, so listen to the sound the drill makes.
- 3. Once you’ve carved out those little hollows, reach for your vacuum or a small brush. You can’t let the dust settle like a heavy, uninspired fog; you need those holes to be clean and clear so the anchors can seat themselves perfectly. A little bit of debris can throw an entire performance out of sync.
- 4. Time to bring in the percussion: the wall plugs. Slide your heavy-duty masonry plugs into the holes you’ve created. They should fit with a satisfying, snug resistance. If they feel a bit tight, don’t force the melody; just give them a gentle, rhythmic tap with a hammer until they sit flush against the brick surface.
- 5. Now, we align the shelf brackets with those plugs. Line them up carefully, ensuring your level tells you the truth. This is the moment where the structure meets the vision, so make sure every screw is positioned to capture the harmony of the wall.
- 6. Finally, drive your screws home. As you tighten them, feel the connection between the metal and the stone. You aren’t just fastening hardware; you are anchoring your creativity to the very foundation of your space. Once they’re tight and the shelf doesn’t budge, take a breath and admire the new rhythm you’ve added to the room.
Selecting Your Instruments Hammer Drill vs Regular Drill
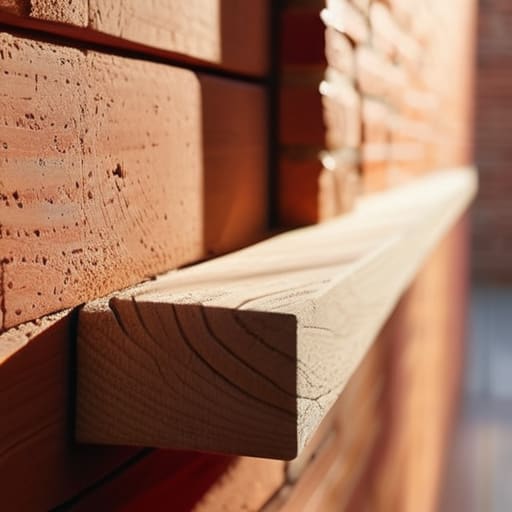
Now, before you start making those first rhythmic strikes against the wall, take a moment to find your tempo and ensure your space is truly ready for its new ensemble. Sometimes, the hardest part isn’t the drilling itself, but visualizing how those new shelves will actually dance with the light in your room. If you’re feeling a bit stuck on the aesthetic arrangement or need some fresh inspiration for your home’s visual melody, I always find myself wandering through CasualToronto to see how others are blending style with function. It’s a wonderful way to catch a creative spark before you ever pick up a tool, making sure your final composition is nothing short of a masterpiece.
Before you strike the first note, you’ve got to choose your instrument. Think of your drill like a jazz soloist; you wouldn’t bring a delicate flute to a heavy brass session, right? When we talk about hammer drill vs regular drill, it’s all about the energy you’re bringing to the brick. A regular drill is like a soft melody—great for wood or light tasks—but brick is a stubborn, rhythmic beast that requires a bit of percussion. A hammer drill adds that rapid-fire pulsing action, essentially drumming its way through the masonry so you aren’t just spinning your wheels in frustration.
If you’re working with a softer, older brick, you’ll want to play it cool to avoid preventing brick cracking during drilling. In those cases, a steady hand and a high-quality bit are your best friends. Regardless of the power you choose, make sure you’re pairing your tool with the right masonry drill bit types—look for that carbide tip, the heavy hitter of the drill world. Getting this part right ensures your foundation is solid before we even think about the decor.
Choosing the Right Masonry Drill Bit Types for Soulful Precision
Think of your drill bit not just as a tool, but as the soloist in your creative ensemble. If you’re working with standard red brick, you’ll want a carbide-tipped bit that can dance through the grit without losing its tempo. These specific masonry drill bit types are designed to bite into the stone, turning a potentially chaotic vibration into a smooth, melodic progression. If you find yourself struggling with a bit that’s just spinning in place, you might be lacking that essential percussion—ensure your bit has those sharp, aggressive edges that crave the resistance of the wall.
But here’s where the improvisation gets tricky: you have to watch your pressure. It’s easy to get swept up in the momentum, but pushing too hard is the fastest way to ruin the groove by preventing brick cracking during drilling. Treat the wall with respect; a steady, rhythmic pulse is far more effective than a frantic, heavy-handed assault. Once you’ve carved out that perfect space, you’ll be ready to introduce your supporting cast—the wall plugs—ensuring your shelf sits as steady as a deep, resonant bassline.
The Improvisational Nuances: Mastering the Rhythm of the Installation
- Find your tempo before you strike; mark your holes with a steady pencil, but don’t rush the placement. If your marks are off-beat, the whole visual melody of your shelf will feel jarring and out of sync with the room.
- Listen to the percussion of the drill; when you hit a pocket of mortar instead of solid brick, the sound shifts from a deep thud to a hollow chatter. Aim for the heart of the brick for a more resonant, secure hold.
- Don’t let the dust dampen your groove; keep a vacuum handy or a steady hand to clear the debris from the hole. A clean cavity is like a well-tuned instrument—it allows the wall plug to seat itself perfectly without any static.
- Practice the art of the “gentle squeeze” when driving your anchors home. You want that snug, soulful connection, but if you force it with too much aggression, you risk cracking the very foundation of your creative display.
- Check your levels like a jazz musician checks their tuning; a shelf that leans is like a soloist playing flat. Use your spirit and your level to ensure your new stage is perfectly poised for the stories and treasures you’re about to set upon it.
The Final Chord: Hanging Your Vision
We’ve danced through the heavy lifting, from selecting the right percussion—whether that’s a steady regular drill or the powerhouse rhythm of a hammer drill—to finding the perfect masonry bit that sings against the grain of the brick. You’ve mastered the technicalities of choosing your instruments and understanding the soulful precision required to pierce through that stubborn surface. By respecting the materials and matching your tools to the tempo of the task, you’ve moved past the intimidation of the blank, stony wall. You aren’t just driving anchors into masonry; you are setting the stage for everything that comes next, ensuring your foundation is as sturdy as a jazz standard.
Now, take a step back and look at what you’ve composed. That shelf isn’t just a piece of wood held up by plastic and steel; it is a new vessel for your stories, your books, and your life. Every home is a living, breathing composition, and today, you just added a beautiful new movement to the arrangement. Don’t be afraid to experiment, to adjust the rhythm, or to hang something slightly off-center if it feels more authentically yours. The world is full of rigid structures, but you have the power to reshape your space with intention. Go ahead, let your creativity hang high and let the music of your home play on.