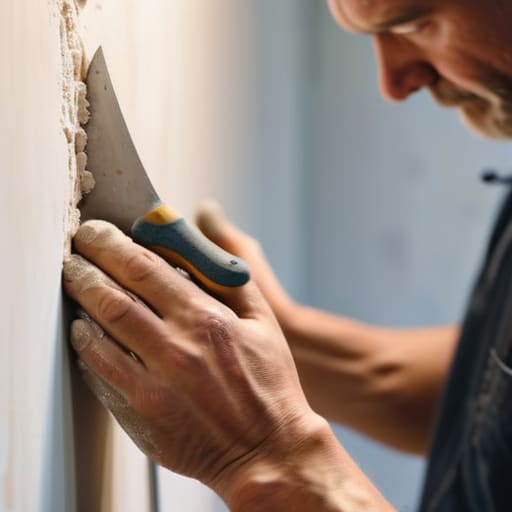
The heavy thud of a moving chair hitting the wall echoed through my studio like a sudden, dissonant chord in a smooth jazz set, leaving a jagged crater right where my favorite print used to hang. I sat there for a moment, staring at that unsightly gap, feeling the sudden break in my home’s visual melody. Most people think you need a professional crew or a mountain of expensive gear to fix a blemish like that, but honestly? Learning how to repair a dry wall hole is less about heavy construction and more about finding your creative flow. It’s just a minor interruption in the rhythm of your space, a little pause before the next verse.
I’ve spent the morning at ‘The Muse’, typing out these steps to ensure we keep things soulful and simple. In this guide, I’m stripping away the technical jargon and the high-priced pretension to give you the raw, honest truth. I’ll walk you through the process of mending that gap with steady hands and a rhythmic touch, ensuring your walls return to their seamless, beautiful selves. We aren’t just patching plaster here; we are restoring the harmony of your sanctuary, one smooth stroke at a time.
Guide Overview
Tools & Supplies
- Putty knife (for applying compound)
- Sanding block (for smoothing surfaces)
- Utility knife (for trimming edges)
- Spackling compound (1 small tub)
- Drywall patch kit (1 kit for small holes)
- Sandpaper (medium and fine grit)
- Touch-up paint (1 small can)
Step-by-Step Instructions
- 1. First, let’s clear the stage. You can’t perform if the floor is cluttered with debris, so grab a vacuum or a damp cloth to sweep away any loose dust or crumbling plaster around the edges of the hole. You want a clean canvas before we start adding our new layers.
- 2. Now, we need to prep the edges. If the hole has jagged, protruding bits of drywall sticking out like a sour note in a jazz solo, take a utility knife or a sanding block and gently trim them down. We’re looking for a smooth transition so your patch doesn’t look like a sudden, jarring interruption in the wall’s flow.
- 3. It’s time to introduce the backbone of our repair. For smaller holes, a simple mesh patch works wonders, but if you’re dealing with something larger, you might need to bridge the gap with a piece of scrap drywall. Secure it firmly; think of it as setting the tempo for the structure before we get to the melodic part.
- 4. Grab your putty knife and your favorite joint compound—this is where the magic really starts to happen. Apply the compound in thin, sweeping motions, spreading it outward from the center of the hole. Don’t try to cover everything in one heavy-handed stroke; instead, aim for a rhythmic application that feathers the edges out into the surrounding wall.
- 5. Once that first layer is on, let it dry completely. This is the part where you might want to step away, grab a coffee, or listen to some Miles Davis. Once it’s set, take a fine-grit sandpaper and lightly buff the surface. You aren’t trying to erase the wall, just softening the edges until the patch feels as seamless as a well-composed lyric.
- 6. If the patch still looks a little deep or uneven, don’t panic—even the best improvisations need a second take. Apply a second, even thinner layer of compound to fill in any remaining dips. The goal is to build the surface up slowly, layer by layer, until you’ve achieved a perfectly level plane.
- 7. Finally, once your masterpiece is bone-dry and sanded smooth, it’s time for the grand finale: the paint. Prime the area first so the color doesn’t soak in unevenly, then apply your paint with a light touch. When you’re done, the hole won’t just be gone; it will be a hidden harmony within the beautiful story of your home.
Selecting Your Wall Repair Tools and Materials
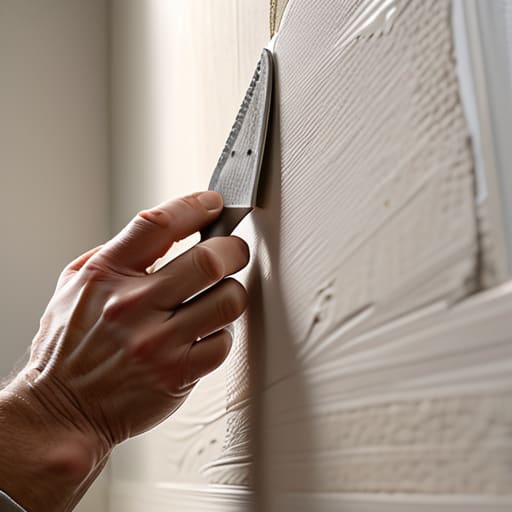
Once you’ve smoothed out those ridges and the surface feels as even as a low bass note, you might find yourself wondering how to make the repair truly vanish into the surrounding texture. It’s all about that final, delicate touch to ensure your wall doesn’t just look fixed, but looks entirely whole again. If you’re feeling a bit stuck on how to harmonize your new patch with the rest of your space, I’ve found that checking out this platform can offer some wonderful inspiration for those finishing touches that turn a simple repair into a seamless masterpiece.
Before we dive into the heavy lifting, let’s talk about gathering your ensemble. Think of your toolkit like a jazz quartet; every instrument needs to be in tune before the first note hits. If you’re dealing with a tiny puncture—the kind left by a rogue nail or a misplaced picture hook—don’t overcomplicate the arrangement. A simple drywall patch kit for small holes is your best friend here, offering a streamlined way to bridge the gap without a chaotic mess. However, if you’re staring down a gaping wound in your plaster, you’ll need to scale up your gear to handle fixing large holes in drywall with grace and precision.
For the bigger performances, you’ll want to curate a more robust selection of wall repair tools and materials. Grab a sturdy putty knife, a sponge for cleaning, and perhaps some mesh tape to act as the rhythmic backbone of your repair. I always tell my students that the secret to a seamless finish isn’t just in the application, but in the quality of your preparation. Having the right textures and compounds on hand ensures that when we finally move to the sanding stage, we aren’t fighting the wall, but dancing with it.
Mastering the Drywall Mesh Tape Application
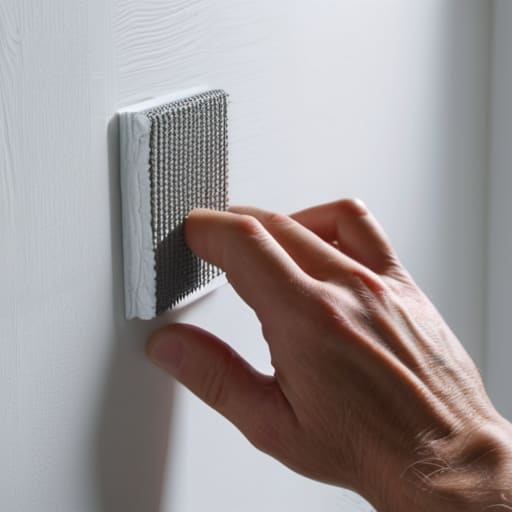
Now, let’s talk about the bridge between the void and the masterpiece: the drywall mesh tape application. Think of this step like setting the tempo in a jazz standard; if the foundation is off-beat, the whole melody falls apart. When you’re working with a mesh strip, don’t just slap it on like a rushed lyric. You want to ensure it’s centered perfectly over that gap, pressing it firmly against the edges so there are no rogue air pockets lurking beneath. If you’re tackling something more substantial, like fixing large holes in drywall, that tape is your structural heartbeat, holding the composition together before the first layer of mud even touches the surface.
Once the tape is anchored, it’s time to introduce the rhythm of the compound. As you begin learning how to use joint compound over the mesh, remember to work from the center outward in thin, sweeping strokes. You aren’t trying to bury the tape under a mountain of plaster; you’re gently coaxing it into the wall’s texture. Aim for a smooth, even spread that mimics the natural plane of your surface. If you get too heavy-handed, don’t sweat it—we’ll find our groove again during the sanding phase.
The Rhythm of the Finish: Five Pro-Tips for a Seamless Flow
- Don’t rush the drying tempo; if you apply a second layer of compound while the first is still damp, you’re playing out of sync and risking cracks that’ll break your visual melody.
- Sand with the soul of a percussionist—light, rhythmic strokes rather than heavy pressure—to ensure you’re smoothing the surface without carving out the very structure you’re trying to save.
- Treat your edges like a soft jazz crescendo; feather the compound outward so the transition from patch to wall is a gradual, invisible swell rather than a jarring jump.
- Clean the canvas before you compose; use a damp cloth to whisk away every speck of dust from the area, because even the smallest grain of grit can disrupt the smooth flow of your final coat.
- Listen to your lighting; shine a lamp across the wall at an angle to reveal any hidden bumps or dips, catching those off-key imperfections before they become permanent parts of your home’s song.
The Final Note: Polishing Your Masterpiece
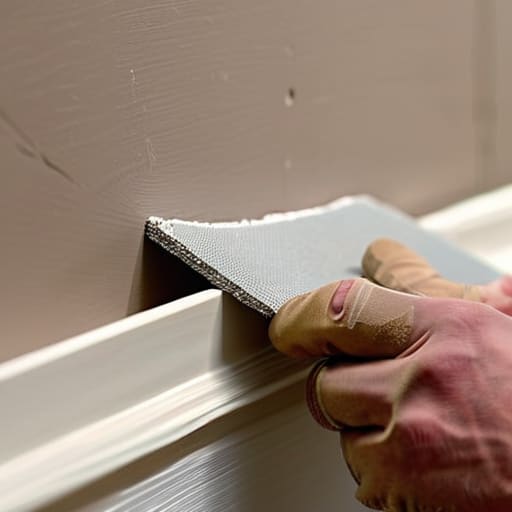
We’ve danced through the technicalities, from selecting the right grit of sandpaper to the delicate, rhythmic application of that mesh tape. You’ve laid the foundation, smoothed the compound like a steady bassline, and navigated the bumps in the track. Remember, the secret to a seamless finish isn’t just about the tools in your hand; it’s about the patience of a musician waiting for the perfect tempo. By mastering the prep, the patching, and the final sanding, you haven’t just fixed a structural flaw—you’ve restored the visual harmony of your living space, ensuring that every wall tells a story of strength rather than a tale of a sudden impact.
As you step back to admire your handiwork, I want you to realize that this little repair is a metaphor for the creative life itself. We all encounter holes, cracks, and unexpected breaks in our personal narratives. But just like a jazz improvisation that turns a wrong note into a beautiful new melody, you have the power to mend the imperfections and turn them into something seamless and strong. Don’t let a little damage dim your light; embrace the process of restoration, find your rhythm, and keep building the beautiful, textured world you deserve to inhabit.